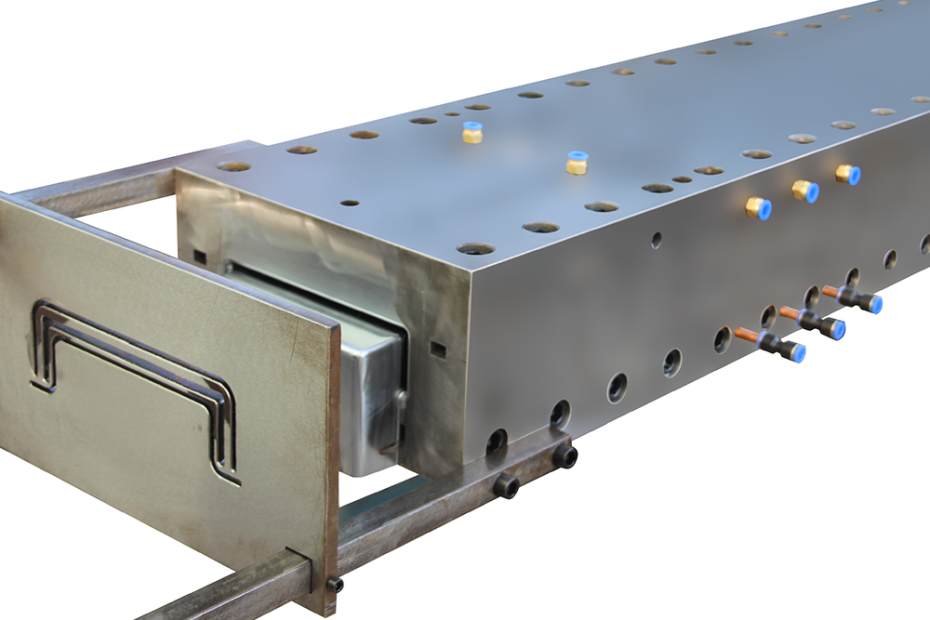
A pultrusion die is the single most expensive consumable in a pultrusion production line. A precision-ground H13 tool steel die for a complex hollow profile — with a chrome-plated cavity surface polished to Ra 0.05 μm, integrated heating cartridge bores, and vacuum-assisted resin injection ports — costs $8,000-35,000 and represents 4-8 weeks of lead time to replace. Yet in many pultrusion shops, dies receive less systematic maintenance than the puller grips or the resin bath. The result: dies that wear out in 30,000-50,000 linear meters of production when they could deliver 100,000-150,000 meters with proper care. This guide provides the inspection schedules, wear diagnosis methods, and repair procedures that extend pultrusion die life by 2-3× while maintaining part dimensional tolerances within ±0.10mm.
Understanding Pultrusion Die Wear Mechanisms
Pultrusion die wear is not a single process but the simultaneous action of four mechanisms. Effective maintenance requires understanding which mechanism is dominant in a given die zone so that countermeasures target the root cause rather than the symptom.
Abrasive wear: Glass fiber is harder than tool steel on the Mohs scale (glass fiber: 5.5-6.5; hardened H13 at HRC 48-52: approximately 5.0-5.5). As the resin-saturated fiber bundle is pulled through the die at 0.2-1.5 meters per minute under compaction pressure of 2-8 MPa, the glass fibers act as a continuous abrasive slurry. Abrasive wear is concentrated in the die entrance zone (first 50-150mm) where fiber compaction occurs and the resin is still low-viscosity; it appears as axial scratches aligned with the pulling direction and gradual enlargement of the cavity cross-section. E-glass fiber is more abrasive than S-glass or carbon fiber due to its higher silica content and larger filament diameter (10-17 μm for E-glass vs 5-10 μm for carbon fiber).
Adhesive wear: Under the high local pressure at fiber-die contact points, micro-welds form between the resin matrix and the die surface. As the profile advances, these welds fracture — sometimes within the resin (leaving residue on the die), sometimes within the die surface (pulling out microscopic tool steel particles). Adhesive wear produces a frosted or matte surface finish on the die cavity and is accelerated by resin systems with strong adhesion to metal (epoxy > vinyl ester > polyester), high filler content (calcium carbonate, alumina trihydrate), and insufficient internal mold release (IMR) concentration.
Corrosive wear: The resin system is chemically active at pultrusion temperatures (120-180°C). Polyester resin generates styrene vapor (boiling point 145°C) that condenses on cooler die surfaces. Epoxy resin amine hardeners are mildly alkaline (pH 9-11) and attack the chrome plating grain boundaries. Phenolic resin generates water as a condensation byproduct, which at 160-180°C becomes superheated steam that causes pitting corrosion on unprotected steel surfaces. Corrosive wear is most severe in the die exit zone where the resin is fully cured and the exothermic peak temperature can exceed the set point by 20-40°C.
Fretting wear: Thermal cycling between production runs (die heats from ambient to 150°C in 30-45 minutes at startup, cools over 2-3 hours at shutdown) causes differential expansion between the die body and the chrome plating layer (thermal expansion coefficient: steel 12×10⁻⁶/°C, chromium 6.5×10⁻⁶/°C). The 5.5×10⁻⁶/°C mismatch creates shear stress at the plating-steel interface with each thermal cycle. Over hundreds of cycles, micro-cracks initiate at the interface and propagate through the chrome layer, eventually causing plating spallation.
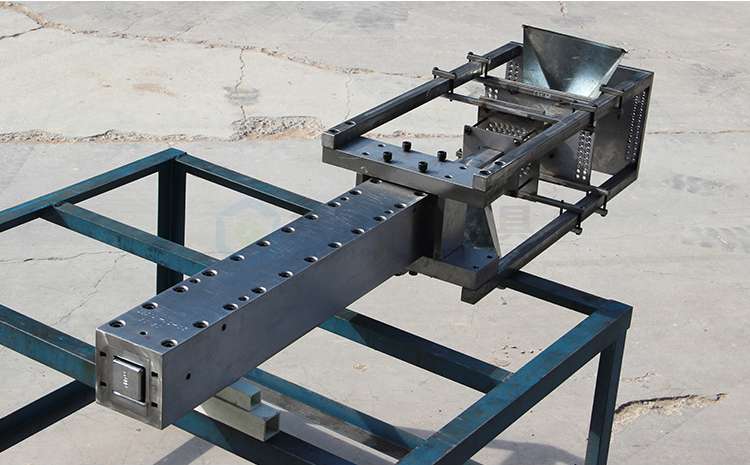

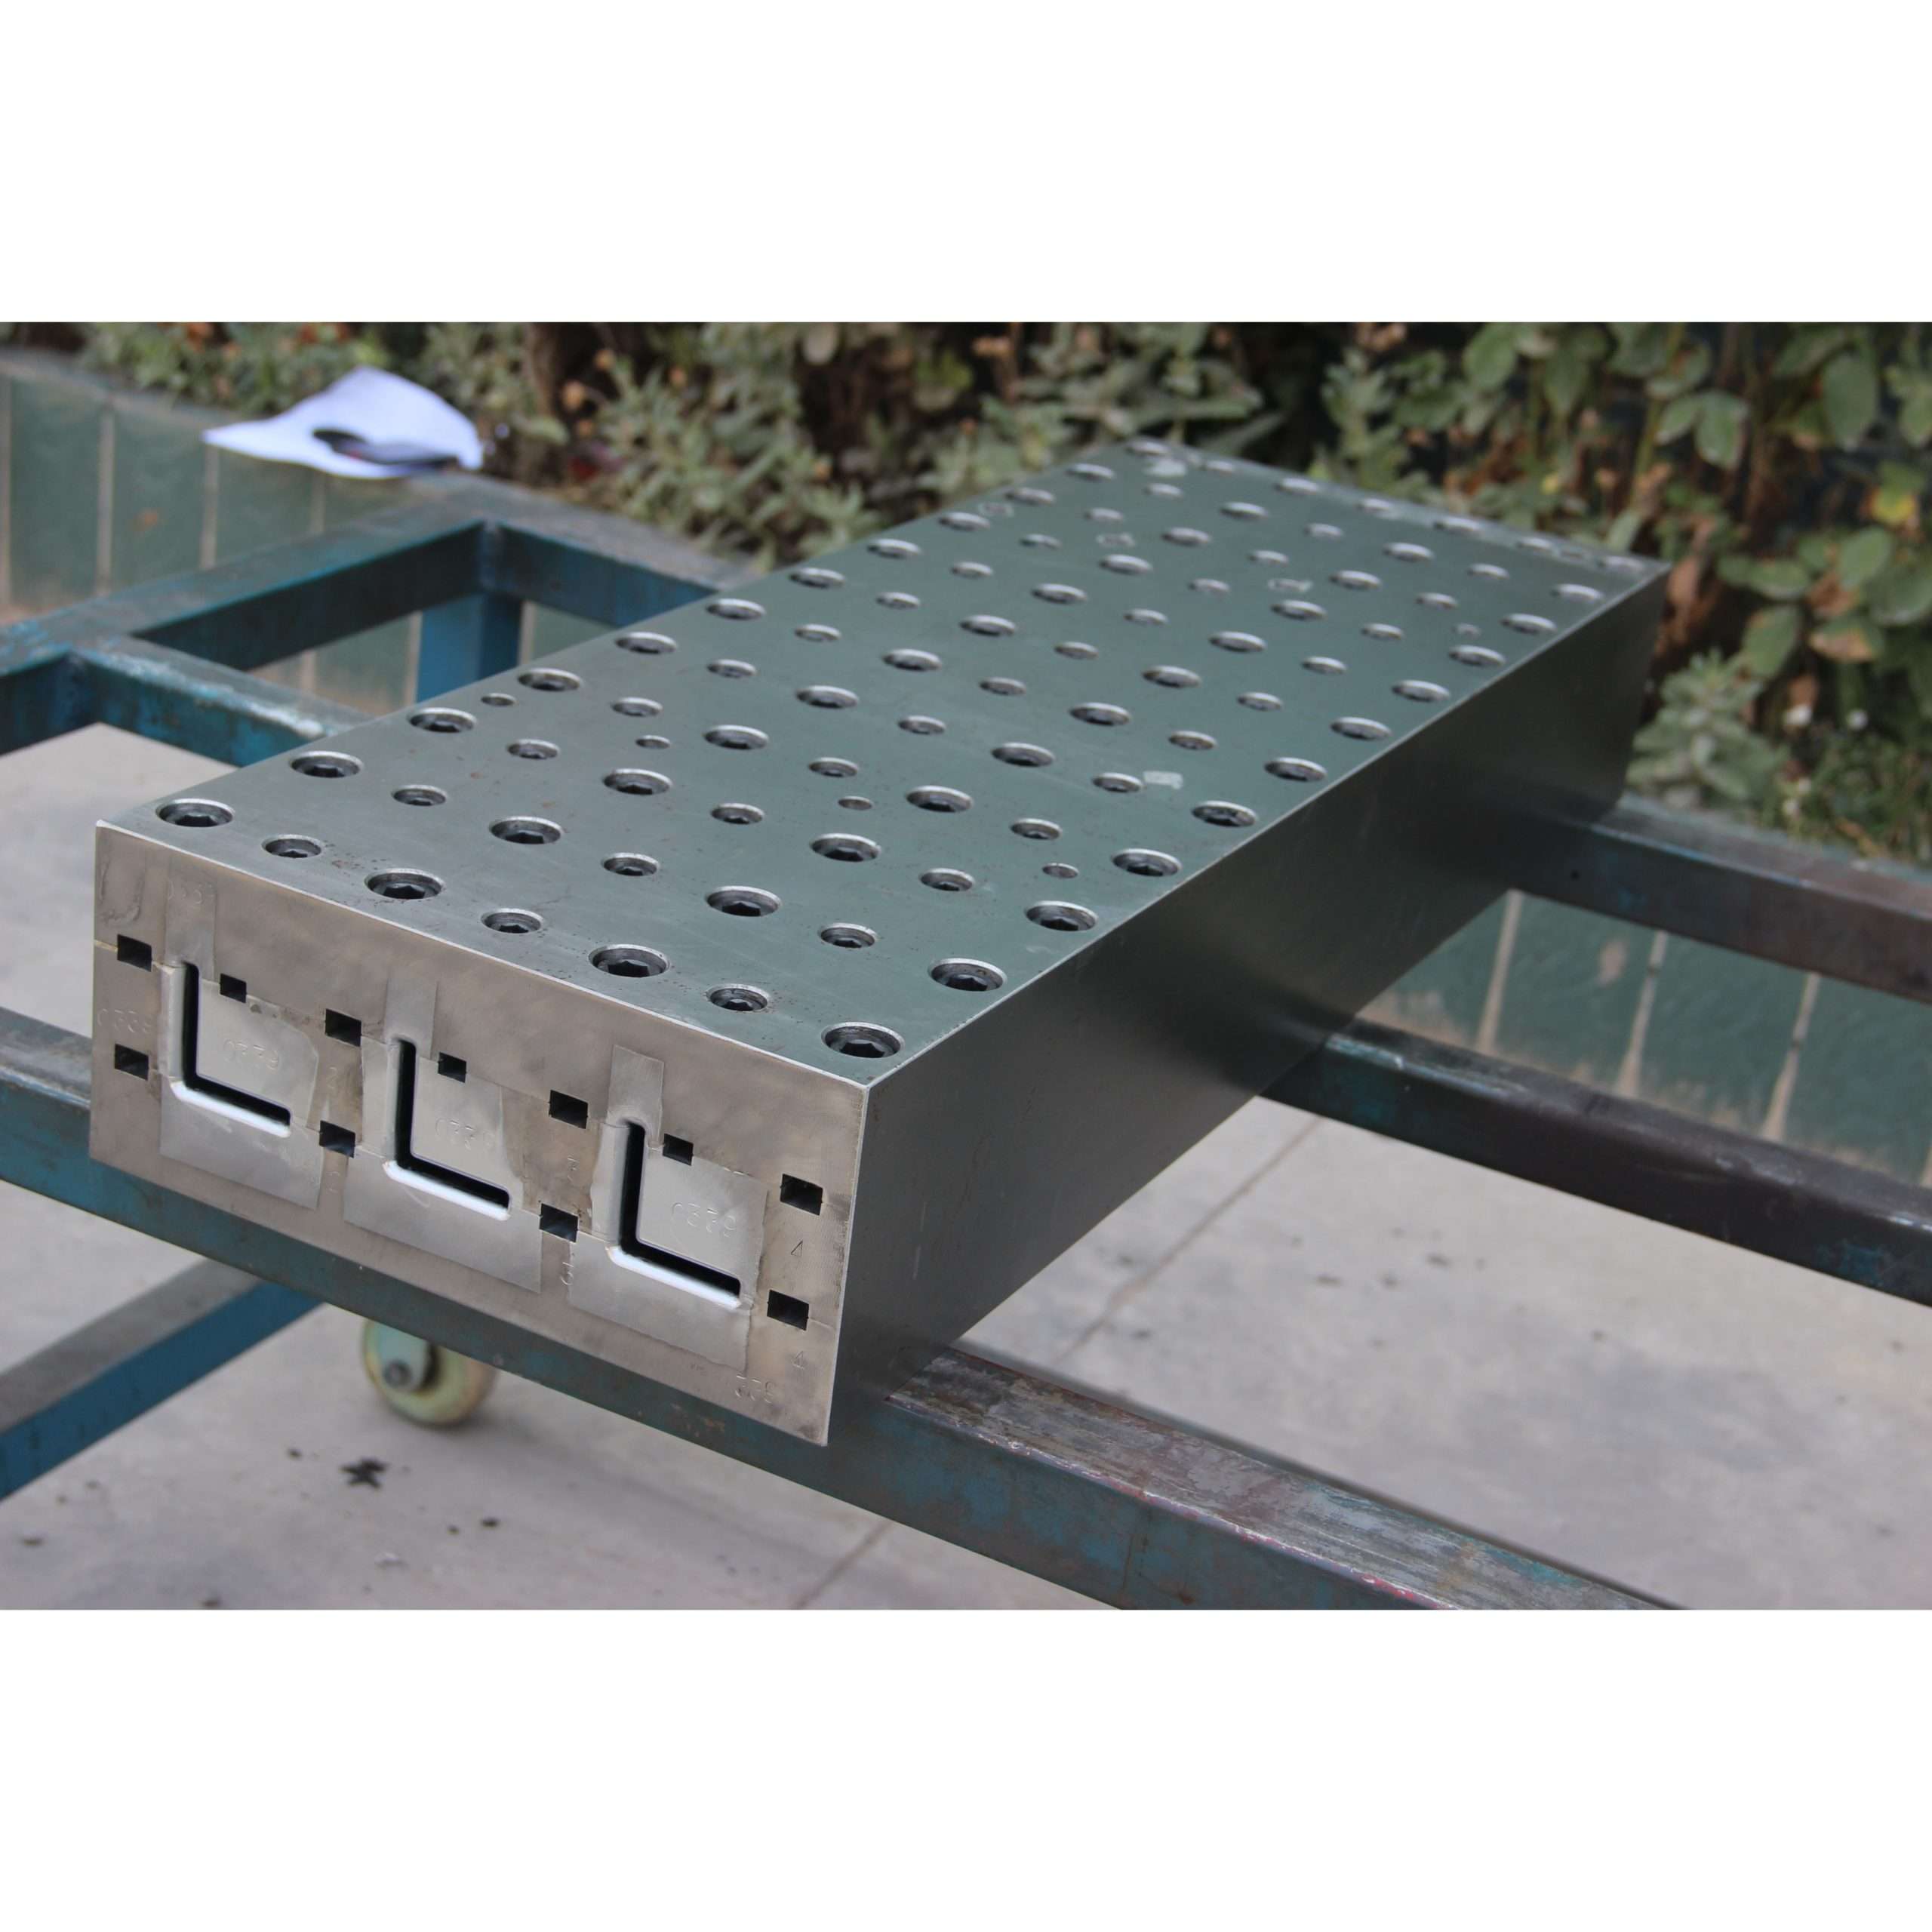
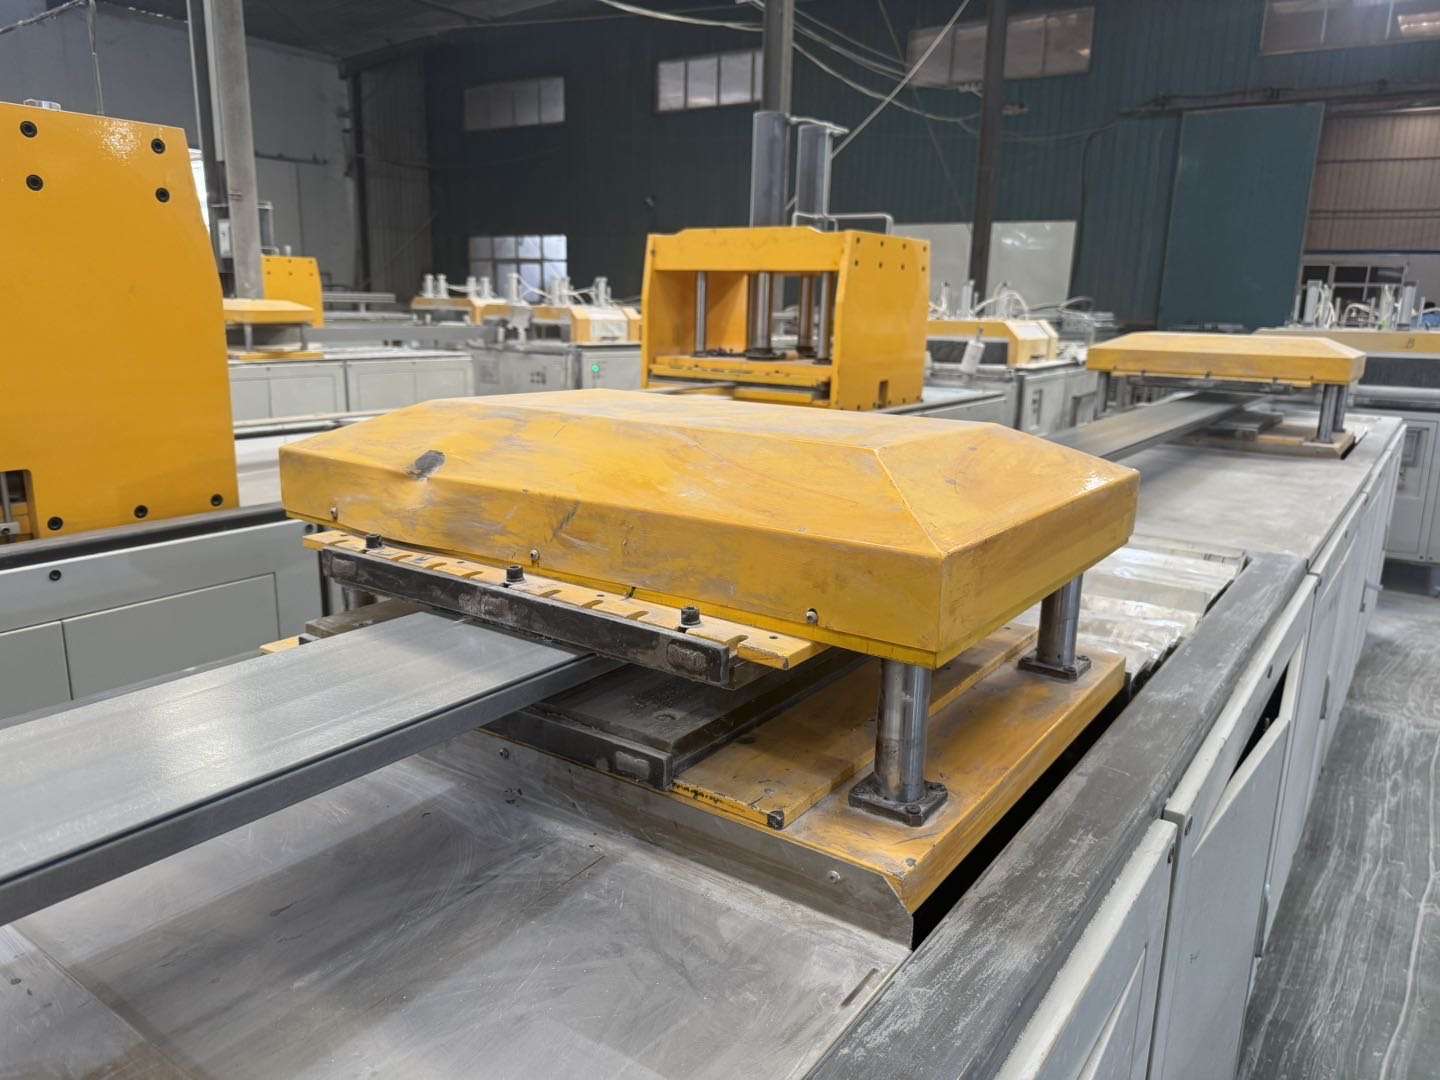
Daily Inspection Checklist (Every Shift)
Daily inspections catch problems before they produce scrap or damage the die. Each inspection takes 10-15 minutes and should be performed by the pultrusion operator at shift start and after any unplanned line stoppage.
| Checkpoint | Method | Acceptance Criterion | Action if Failed |
|---|---|---|---|
| Profile surface finish | Visual + tactile (gloved hand run along profile) | No axial scratches, no matte/dull patches, no fiber exposure | Stop puller; inspect die cavity with borescope |
| Pulling force (pull load cell reading) | Compare to baseline for this profile/product | Within ±15% of established baseline | >15% increase: check resin gel time and IMR; >25%: stop and inspect die for buildup |
| Die zone temperatures | Verify all zone thermocouple readings | Each zone within ±2°C of setpoint | >2°C deviation: check heater cartridge continuity, SSR output, thermocouple placement |
| Profile dimensions (width, thickness) | Caliper or go/no-go gauge at die exit | Within ±0.15mm of nominal | Out of tolerance: die wear likely; measure with pin gauges and plan rework |
| Resin buildup at die entrance | Visual inspection of die face | No accumulated cured resin on die entrance face or entrance radius | Remove with brass scraper (never steel — will scratch die face) |
The pulling force trend is the single most valuable leading indicator of die condition. A gradual increase of 5-10% per month is normal as the die surface slowly roughens. A sudden 20%+ increase within a single shift signals a problem: cured resin buildup in the cavity, loss of IMR effectiveness, or a cold spot in the heating system causing partial gelation before full compaction. Trend the pulling force data weekly; a 30% increase from the die’s “new” baseline usually coincides with profile surface quality becoming unacceptable.
Weekly Inspection Checklist
Weekly inspections, performed during scheduled preventive maintenance windows (typically Sunday night or between production campaigns), involve opening the die or at minimum removing the entrance guide and using a borescope.
Die cavity visual inspection (borescope): Insert a 5-8mm diameter articulating borescope from the die entrance. Examine the first 150mm (compaction zone) for axial scratching — shallow scratches under 0.02mm depth are acceptable; deeper scratches that catch a 0.05mm feeler gauge require re-polishing. Examine the middle section (cure zone, approximately 150-600mm from entrance) for resin buildup — appearing as amber-to-brown deposits on the cavity surface. Examine the exit 100mm for chrome plating condition — pitting, blistering, or exposed steel substrate requires immediate die removal for replating.
Heating system verification: With the die at operating temperature, use a calibrated contact thermocouple to spot-check the external die surface temperature at 100mm intervals along its length. The measured external temperature should correlate predictably with the internal cavity temperature (typically 10-20°C lower due to thermal gradient through the die body). Zones with measured temperature more than 5°C below the expected value indicate failing heater cartridges, poor thermal contact, or insulation degradation. Replace any heater cartridge that draws more than 110% or less than 90% of its rated current at operating voltage.
Internal mold release (IMR) effectiveness check: Mold a 500mm test section of profile, cut it open, and examine the internal surface. A properly releasing die produces a smooth, glossy internal surface. A die with depleted IMR shows micro-roughness, dull patches, or (in severe cases) visible resin smearing — where resin has stuck to the die and torn away from the profile surface. If IMR effectiveness is declining, increase IMR concentration by 0.2-0.5 phr (parts per hundred resin) and re-test. If two consecutive IMR increases do not restore surface quality, the die needs mechanical cleaning and reconditioning.
Monthly / Quarterly: Precision Measurement & Wear Trending
Every 1-3 months (depending on production volume), measure the die cavity dimensions at critical cross-sections using pin gauges (for simple bores) or a coordinate measuring machine (CMM) with a ruby-tipped probe (for complex profiles). These measurements feed a die wear trend chart that predicts remaining useful life.
Measurement procedure: (1) Cool die to ambient temperature (measurements at operating temperature are invalid due to thermal expansion — H13 steel expands approximately 0.15% from 20°C to 150°C, equivalent to 0.15mm per 100mm dimension). (2) Clean cavity thoroughly with a brass brush and solvent — any residual resin will produce false dimensions. (3) Measure at three longitudinal positions: die entrance (first 50mm of constant cross-section after the tapered lead-in), die midpoint, and die exit (last 50mm). The entrance wears fastest; the exit wears slowest. (4) Record measurements and plot against the die’s new-manufacture baseline.
Wear limits: A pultrusion die should be removed from production and reworked when the cavity dimension at any point exceeds the nominal profile dimension plus the customer’s upper tolerance limit. For a profile with nominal thickness of 5.00mm and tolerance of ±0.20mm, the die should be reworked when the cavity thickness reaches 5.20mm at the entrance (or 5.15mm at the midpoint, providing margin for continued entrance wear). Running a die beyond this point produces oversized profiles that must be scrapped or sold as seconds.
Wear rate trending: Plot cavity dimension vs. cumulative linear meters produced. A healthy chrome-plated die wears at 0.001-0.003mm per 10,000 linear meters in the entrance zone — meaning 100,000 meters of production yields 0.01-0.03mm of wear, within the typical 0.20mm tolerance budget. A die wearing at >0.005mm per 10,000 meters has a plating problem (insufficient chrome thickness, poor chrome adhesion, or excessive surface roughness from inadequate polishing) and will need replating before 50,000 meters.
Die Cleaning Procedures: Removing Cured Resin Buildup
Resin buildup on the die cavity surface is the most common cause of deteriorating profile surface quality. Buildup starts as a thin (5-20 μm) film of partially cured resin that bonds to the chrome surface, then thickens as successive profile passes deposit additional layers. Buildup is accelerated by: resin gel time too short relative to die transit time, IMR concentration too low, die temperature too high in the entrance zone (causing premature gelation), and line stops that leave stationary resin curing against the die wall.
Chemical cleaning (for light buildup, performed in-place): Circulate a commercial die cleaning compound (typically alkaline-based, pH 12-14, containing sodium hydroxide and surfactants) through the die cavity for 30-60 minutes at 60-80°C. The alkaline solution hydrolyzes the ester bonds in cured polyester and vinyl ester resins, converting the solid buildup into a soft, swollen gel that can be flushed out. Follow with a water rinse and a neutralizing acid flush (5% acetic acid solution). This method is effective for buildup up to approximately 50μm thickness. Important: phenolic and epoxy resins are resistant to alkaline hydrolysis; for these resin systems, a solvent-based cleaner (NMP — N-Methyl-2-pyrrolidone, or a benzyl alcohol/dichloromethane blend) must be used.
Mechanical cleaning (for heavy buildup, die removed from machine): For buildup exceeding 50μm or chemical-resistant resins, mechanical cleaning is required. The die is heated to 120-150°C to soften the buildup, then the cavity is scraped using a brass or copper scraper shaped to match the profile cross-section — brass and copper are softer than chrome plating (Mohs 3.0-3.5 vs chrome 8.5) and will not scratch the plating. For blind cavities and undercuts, brass bristle brushes in a reciprocating pneumatic tool provide access. Final polishing uses a felt bob charged with diamond paste (3μm then 1μm grit) on a flexible shaft tool, worked through the cavity in the pulling direction only — cross-direction polishing creates micro-grooves that trap resin and accelerate re-buildup. After mechanical cleaning, verify cavity dimensions are unchanged and chrome plating thickness (measured with an eddy-current coating thickness gauge) remains above 20μm at all points.
Chrome Plating Repair and Replating
The chrome plating on a pultrusion die cavity serves three functions: wear resistance (chrome hardness: 850-1,000 HV vs H13 steel at 480-520 HV), low friction (coefficient of friction of chrome against cured FRP under pultrusion pressure: approximately 0.15-0.25 vs 0.35-0.50 for uncoated steel), and corrosion resistance. When the chrome plating is worn through, damaged, or spalled, the die must be stripped and replated.
When to replate: Replate when: (1) chrome thickness measured by eddy-current gauge falls below 10μm at any point in the cavity (original plating thickness for pultrusion dies: 25-50μm, with 50-75μm for high-volume production dies); (2) chrome spallation exposes the steel substrate over an area larger than 10mm²; (3) pitting corrosion penetrates more than 50% of the remaining chrome thickness; (4) dimensional wear has consumed 60-70% of the tolerance budget and replating can restore some of the lost dimension (chrome plating builds up 10-20μm per side, partially compensating for abrasive wear).
Replating procedure: (1) Strip old chrome by reverse electroplating in a chromic acid bath (the die is the anode; chrome dissolves from the cavity surface). This process is selective to chrome and does not attack the H13 steel substrate. (2) Inspect the stripped cavity for pitting, cracking, or dimensional wear. If the cavity is dimensionally acceptable but has corrosion pits, the pits must be TIG-welded with H13 filler rod and re-polished before replating. (3) Replate with hard chrome (not decorative chrome) using a chromic acid/sulfate bath at 50-60°C and current density of 30-50 A/dm², targeting 25-50μm thickness. Chrome plating is a “throwing” process — the plating thickness tends to build up on external corners and thin out in internal corners and recesses. For complex profiles, use conforming anodes (shaped to follow the cavity contour) to maintain thickness uniformity within ±20%. (4) Post-plate baking at 180-200°C for 3-4 hours to drive off hydrogen absorbed during plating and prevent hydrogen embrittlement of the steel substrate. (5) Final polish to Ra 0.05-0.10μm using diamond paste, following the pulling direction.
Cost of replating: $1,500-4,000 for a typical pultrusion die, compared to $8,000-35,000 for a new die. Lead time: 1-3 weeks (versus 4-8 weeks for new manufacture). A well-maintained die may be replated 2-3 times over its service life before dimensional wear in the steel substrate (not recoverable by plating) mandates replacement.
How often should a pultrusion die be inspected?
Daily: visual inspection of profile surface quality and pulling force trending (10-15 minutes per shift). Weekly: borescope cavity inspection and heating system verification (30-45 minutes during scheduled downtime). Monthly/quarterly: precision dimensional measurement of cavity cross-section at entrance, midpoint, and exit using pin gauges or CMM, feeding a wear trend chart (1-2 hours with die cooled to ambient).
What is the typical service life of a chrome-plated pultrusion die?
A properly maintained chrome-plated H13 pultrusion die typically produces 100,000-150,000 linear meters of FRP profile before requiring replating or replacement. Without systematic maintenance, die life drops to 30,000-50,000 meters — a 3× reduction. The die entrance zone wears fastest (0.001-0.003mm per 10,000 meters with proper chrome) due to the abrasive action of uncompacted glass fibers. Chrome plating can be stripped and reapplied 2-3 times before cumulative steel substrate wear mandates a new die.
What pulling force trend indicates a die needs maintenance?
A pulling force increase of more than 25% above the established “new die” baseline usually indicates a problem requiring die maintenance: cured resin buildup in the cavity, degraded internal mold release effectiveness, incorrect zone temperatures causing premature gelation, or chrome plating wear increasing surface friction. A sudden spike (>20% in one shift) is typically resin buildup; a gradual increase (>5% per month) is typically chrome wear. Both warrant a borescope inspection within one week.