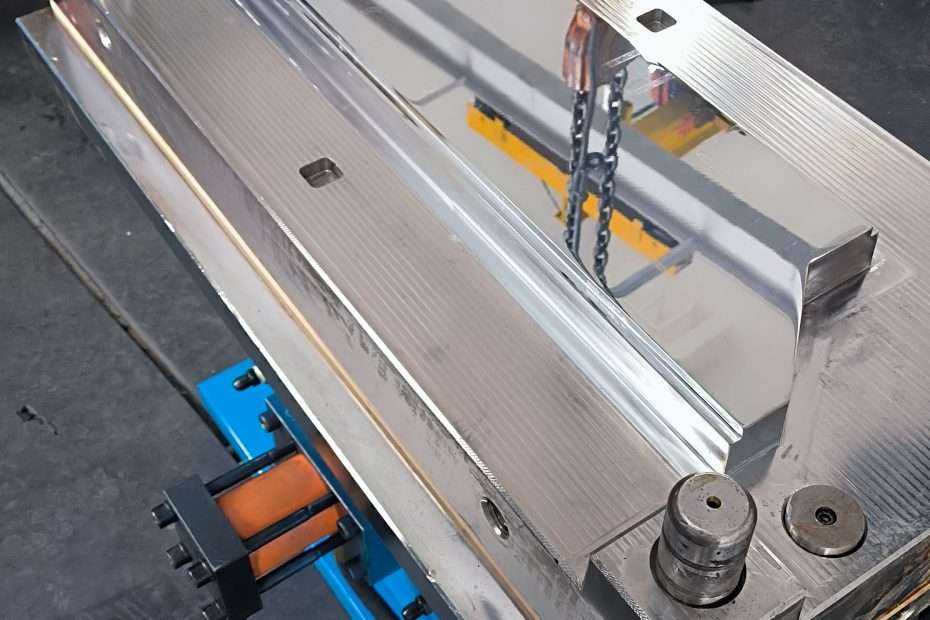
A mirror-polished SMC mold cavity does more than produce good-looking parts. The surface finish directly affects part release, cycle time, and defect rate. A cavity polished to Ra 0.05 μm releases parts with 30–40% less ejection force than one at Ra 0.2 μm. It eliminates the micro-undercuts that trap styrene vapor and cause porosity. And for Class A painted surfaces, the mold finish is literally imprinted onto every part — you cannot paint over mold roughness. Here is the step-by-step process that professional mold polishers use to take a machined cavity from Ra 0.8 μm to Ra 0.025 μm.
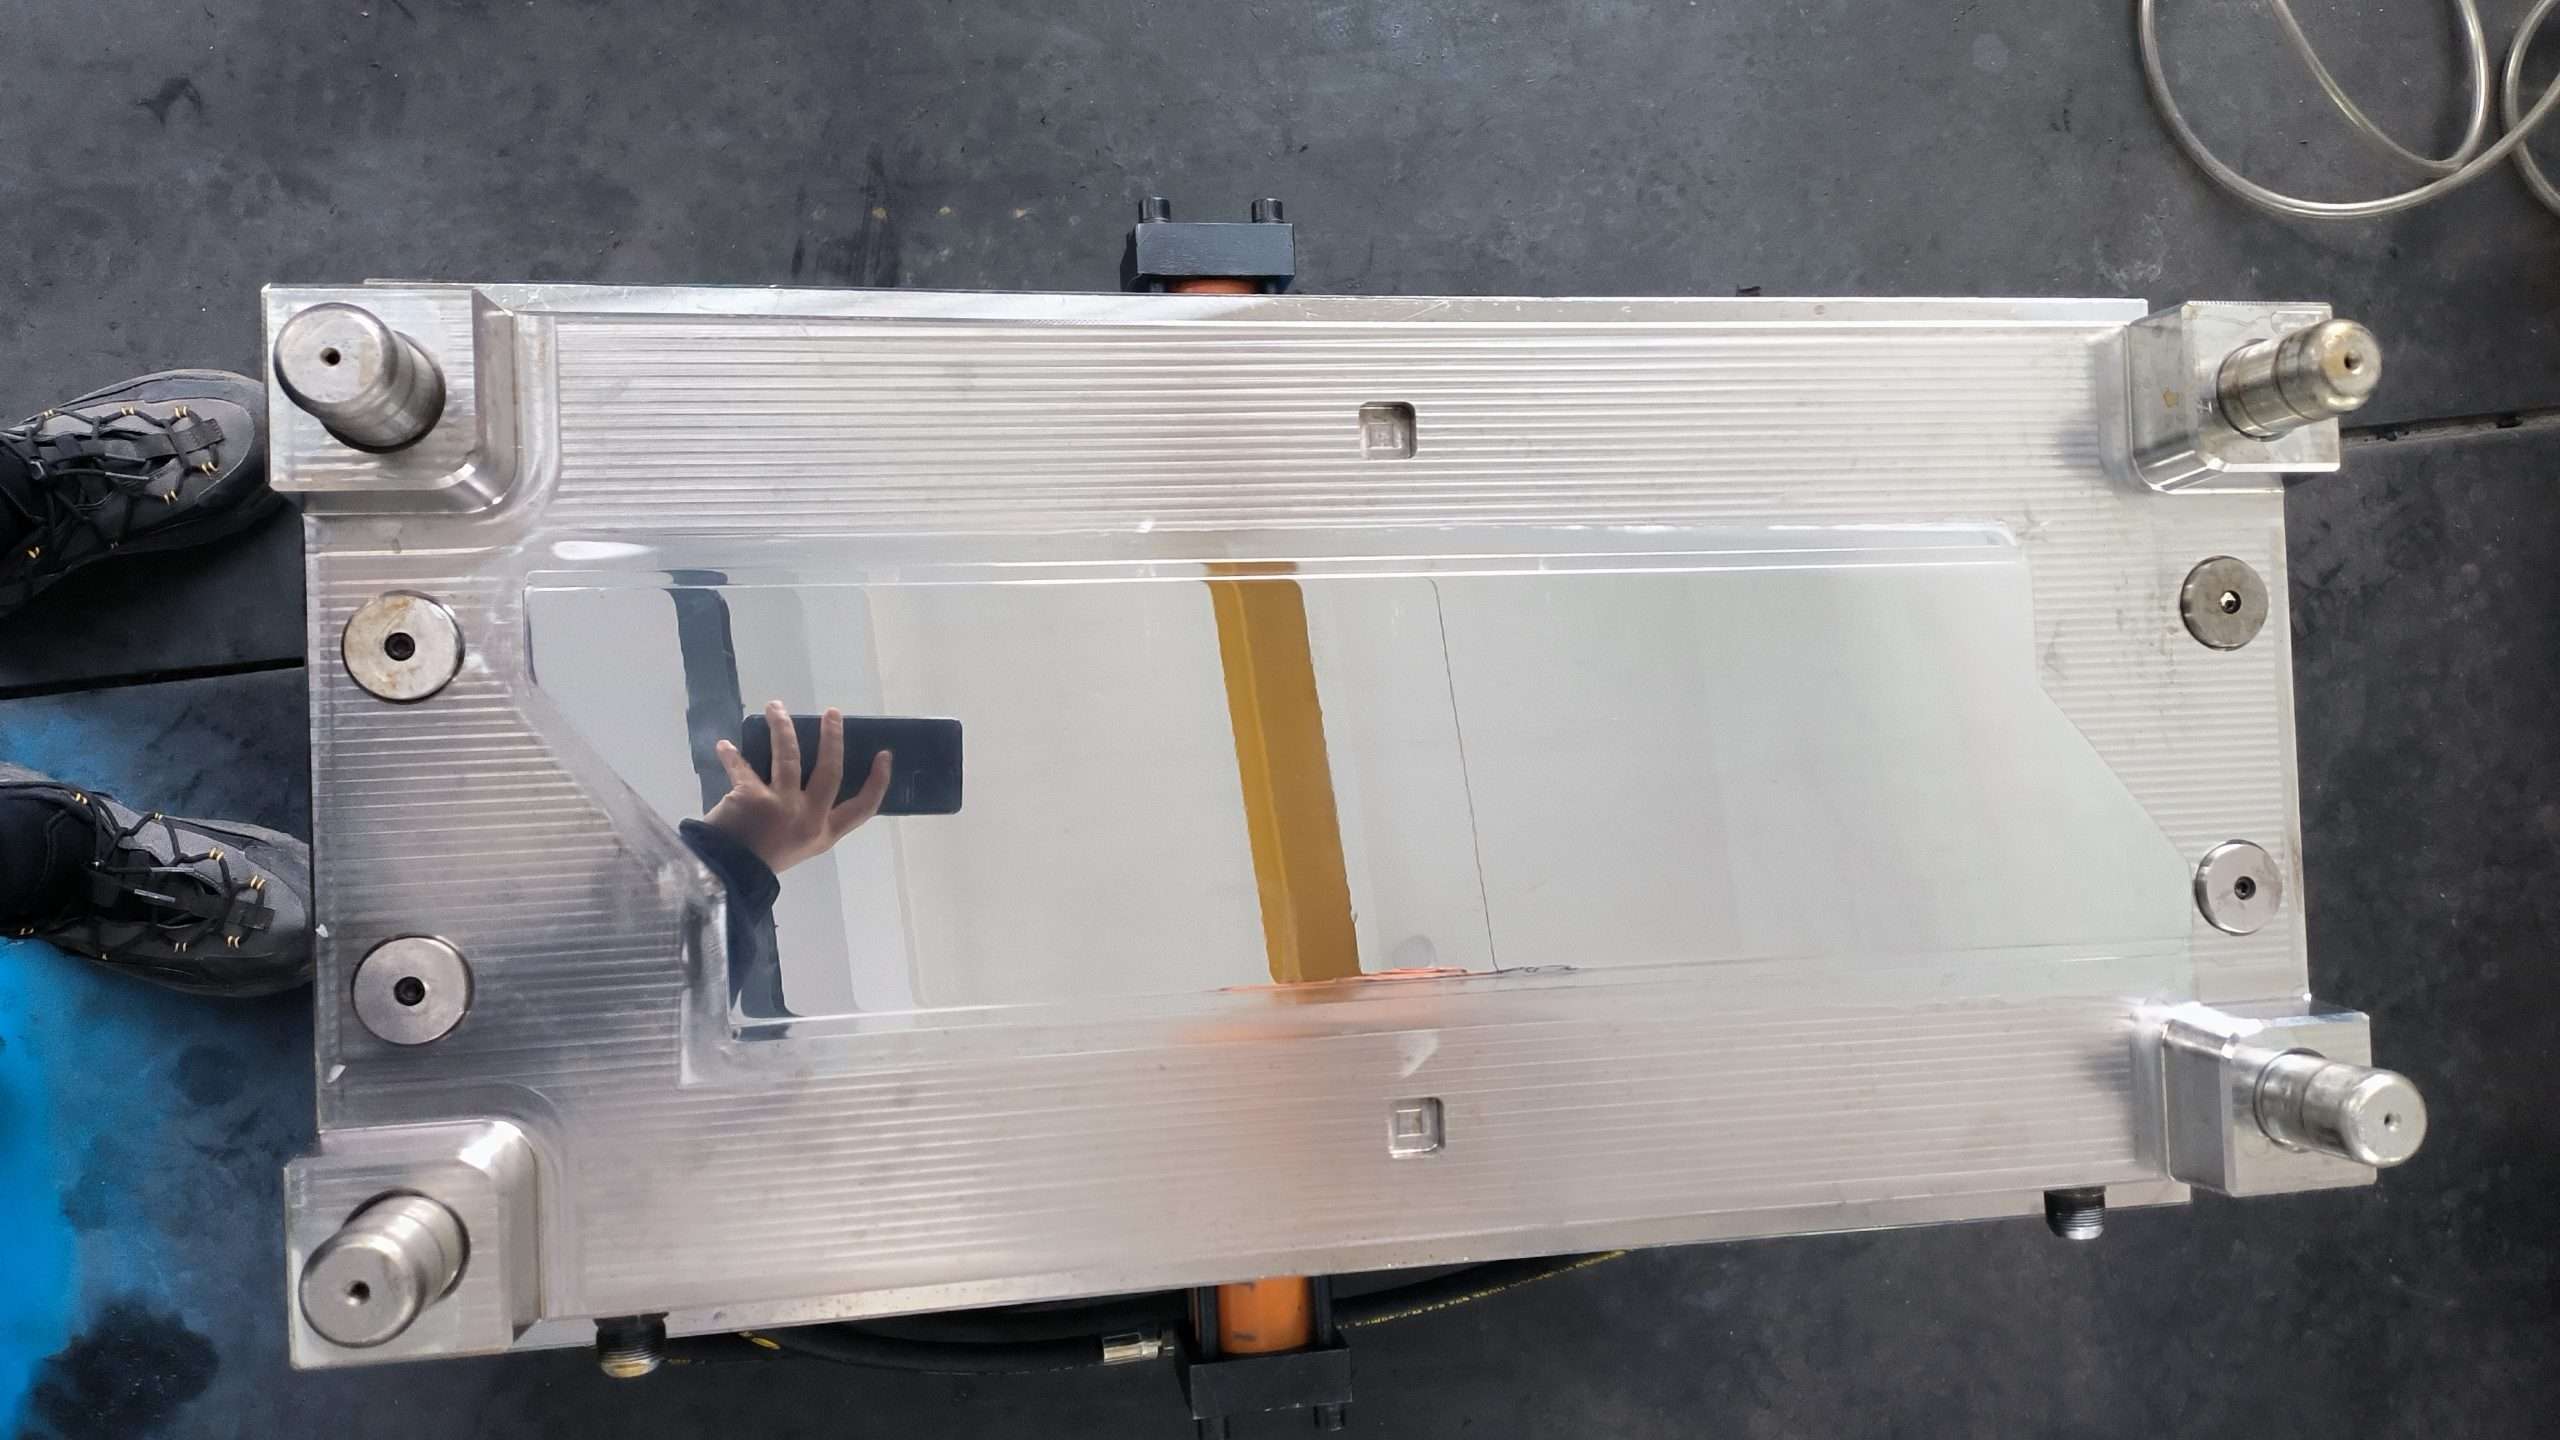
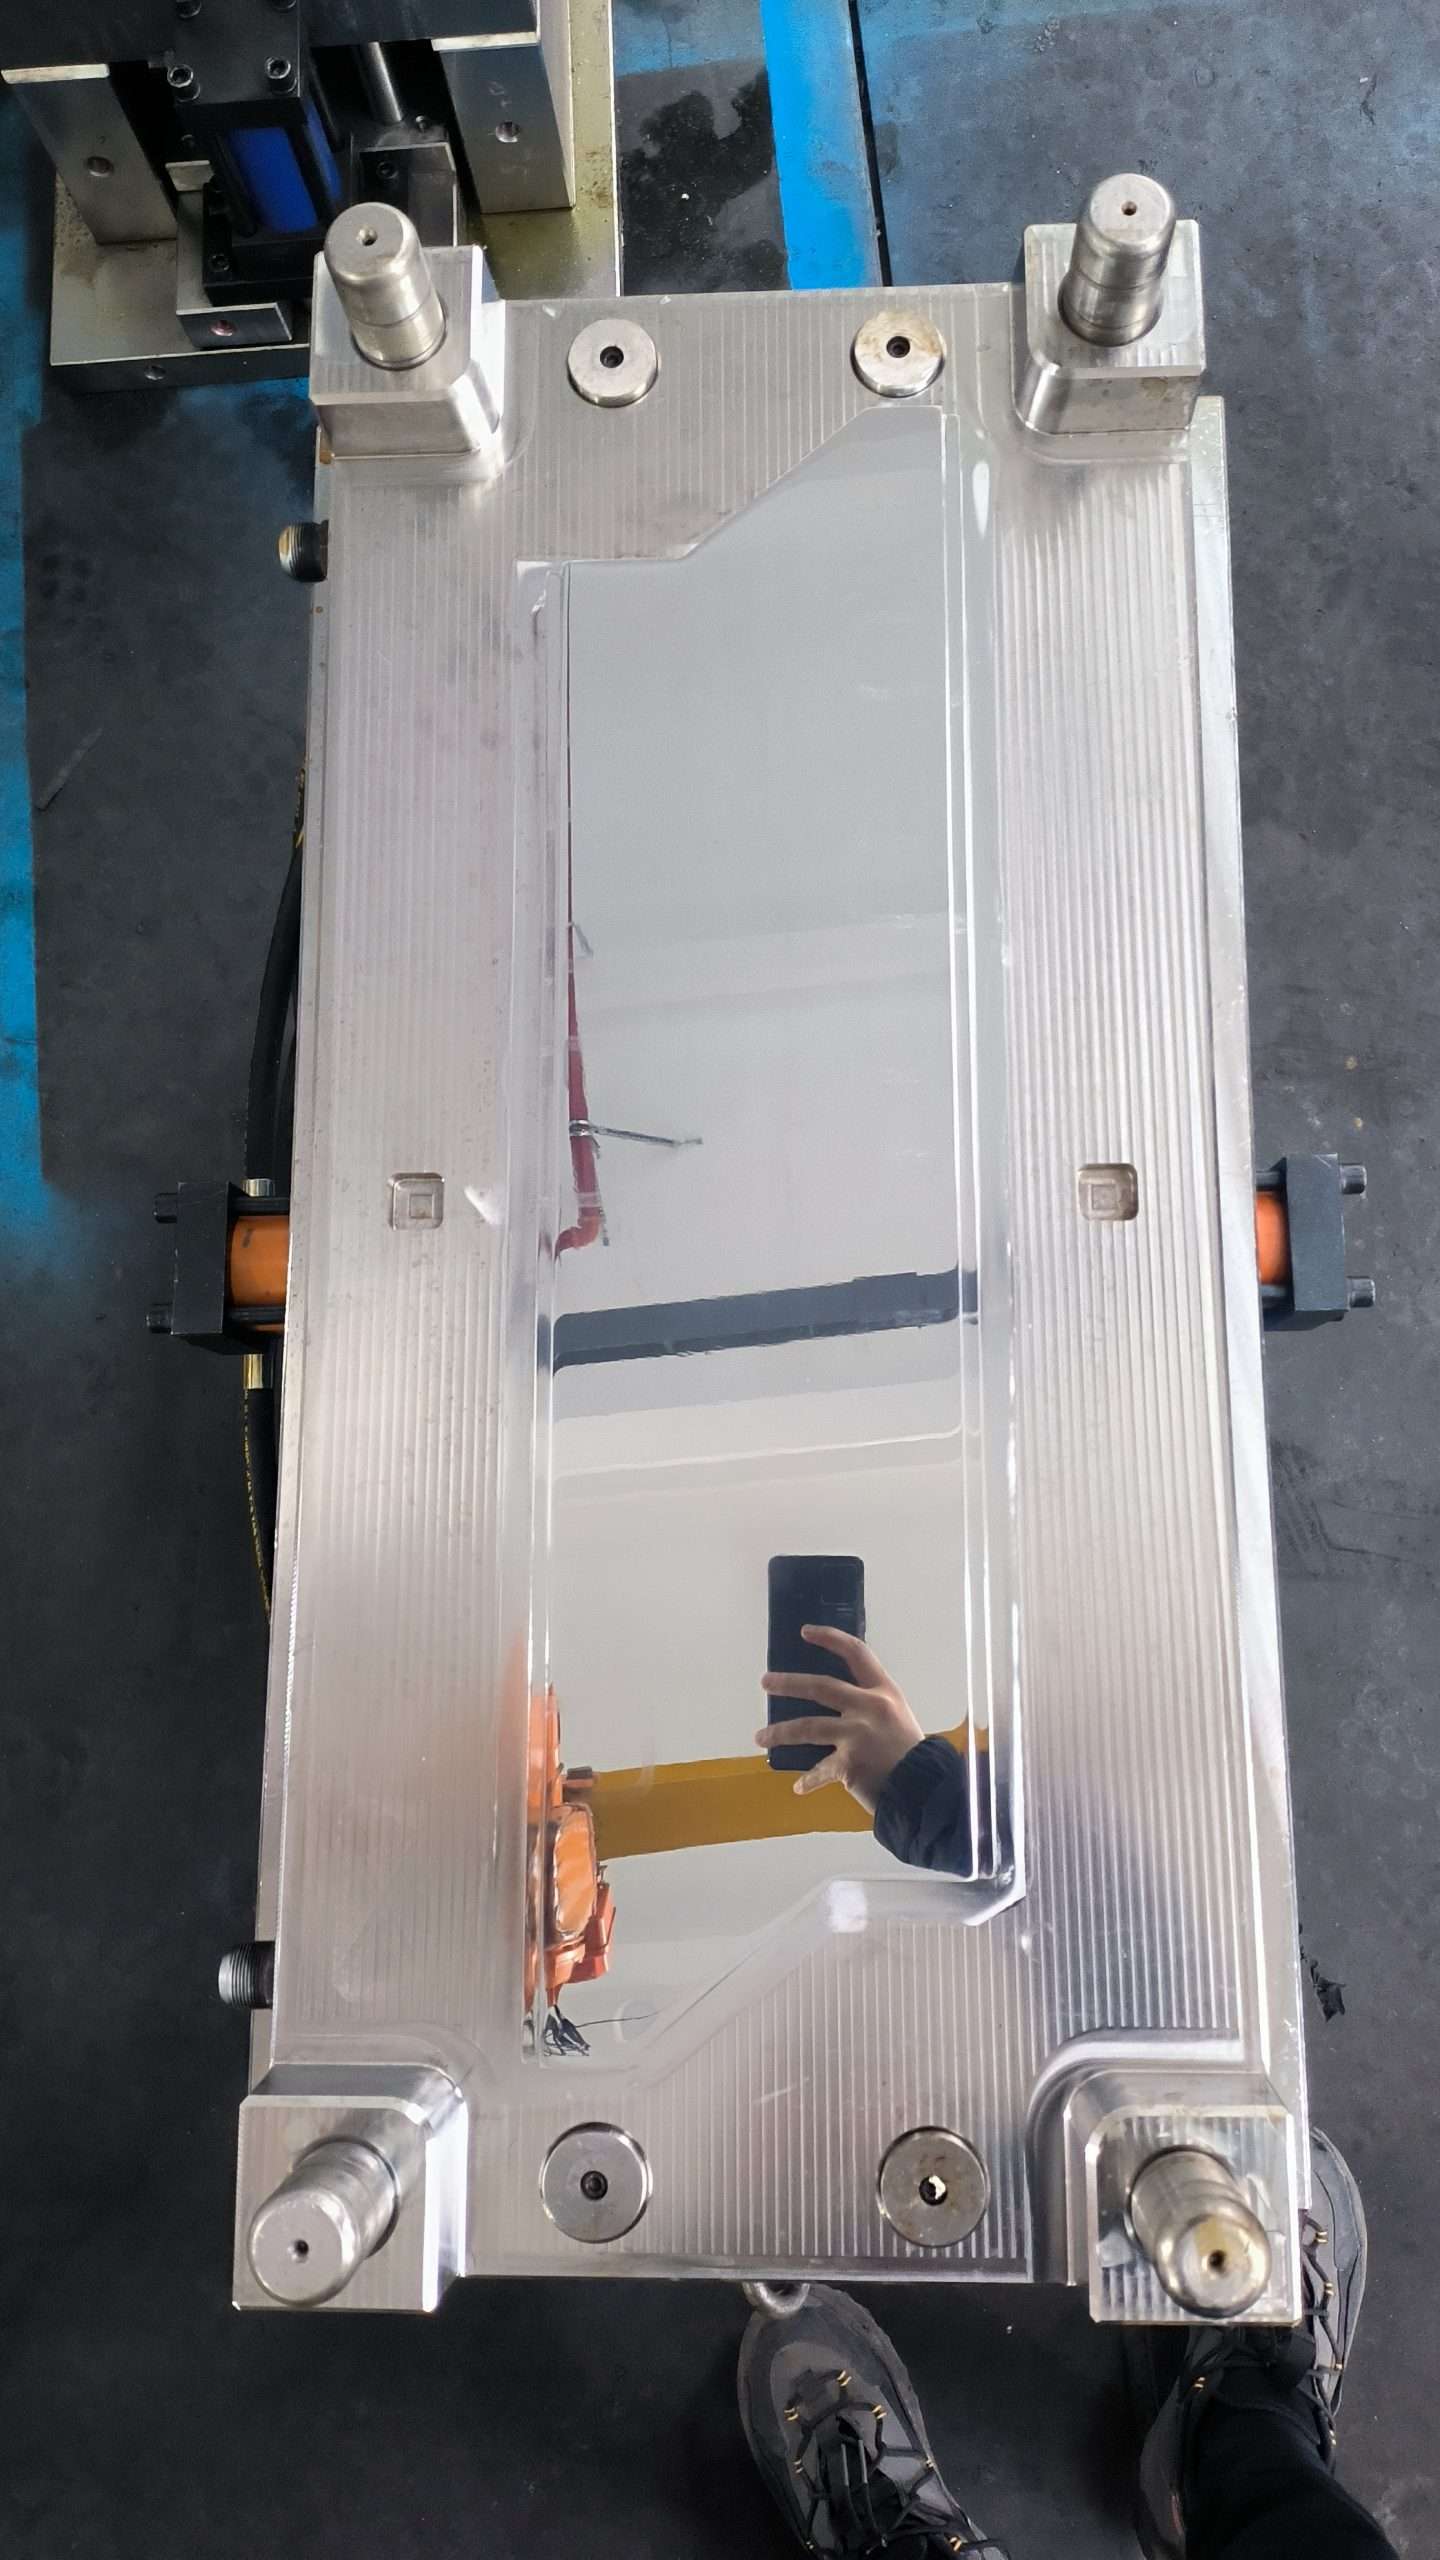


Understand Surface Finish Targets for SMC Molds
SMC mold cavities are typically machined by CNC milling or EDM, leaving a surface roughness of Ra 0.4–1.6 μm. This is far from the Ra 0.025–0.05 μm required for Class A surface parts or the Ra 0.05–0.10 μm acceptable for general industrial parts. The polishing process removes machining marks through progressively finer abrasives. Each step must completely remove the scratches from the previous step — skipping a grit to save time leaves deep scratches that become increasingly visible as the surrounding surface gets smoother. The rule of thumb: polishing time doubles with each halving of surface roughness. Going from Ra 0.8 to Ra 0.05 takes approximately 8–16 hours per square meter of cavity surface for an experienced polisher.
Step 1: Remove Machining Marks — Coarse Polishing (Ra 0.8 → Ra 0.2)
Start with aluminum oxide or silicon carbide stones in the 120–240 grit range, lubricated with light mineral oil or dedicated polishing oil. Work in a consistent cross-hatch pattern — polish in one direction with a given grit, then rotate 90 degrees for the next grit so you can see when the previous scratches are gone. At each grit level, continue until the only visible scratches are from the current grit. Inspect under 10× magnification — scratches from a previous grit will appear as parallel lines at a different angle from your current pattern. For EDM surfaces, start one grit coarser than normal (80–120 grit) because the EDM recast layer is hard and must be fully removed — it contains micro-cracks that will propagate into the mold steel under thermal cycling.
Step 2: Refine the Surface — Medium Polishing (Ra 0.2 → Ra 0.08)
Switch to diamond paste or diamond-impregnated rubber points in the 400–800 grit range. Diamond cuts P20 and H13 mold steels more efficiently than aluminum oxide and produces a more uniform finish. Apply the paste to a felt bob or hard felt stick — soft carriers follow the surface contour and prevent creating flat spots on curved surfaces. Run the rotary tool at 5,000–10,000 RPM for small areas, or use an air-powered reciprocating polisher for large flat surfaces. Keep the tool moving — dwelling in one spot creates a local depression that will be visible on every molded part. At the end of this step, the cavity should have a uniform satin finish with no visible machining marks under 10× inspection.
Step 3: Achieve the Mirror — Fine Polishing (Ra 0.08 → Ra 0.025)
This is where the mirror finish emerges. Progress through diamond paste grits: 3 micron → 1 micron → 0.5 micron → 0.25 micron. Each micron step requires 15–30 minutes of polishing per square meter. Use separate felt bobs for each grit — cross-contamination of a coarser grit into a finer stage forces you to go back two steps. Between each grit change, thoroughly clean the cavity surface with lens tissue and isopropyl alcohol. Any residual 3-micron particles will scratch the surface when you move to 1-micron polishing.
For the final 0.25-micron step, some polishers use a slurry of colloidal silica on a short-nap microfiber cloth. The silica particles are approximately 0.05 microns and produce a true optical finish. This step adds 2–4 hours but achieves Ra 0.01–0.02 μm — the difference between a mirror that looks good and one that looks liquid. For molds that will be chrome-plated, stop at Ra 0.05 μm (1-micron diamond). Chrome plating fills minor surface imperfections, so polishing beyond this point provides diminishing returns.
Step 4: Clean and Protect the Polished Surface
A freshly polished mold cavity is chemically active and will flash-rust within hours in humid air. Immediately after final polishing, clean with pure isopropyl alcohol (not denatured — the additives leave a film) and apply a corrosion-protective oil or a vapor-phase corrosion inhibitor (VCI) paper. For molds going into immediate production, apply a thin coat of semi-permanent mold release and cure it per the manufacturer’s instructions — this both protects the polish and provides the first release layer.
Step 5: Verify Surface Finish
Surface roughness should be measured, not judged by eye. A portable stylus profilometer (Mitutoyo SJ-210 or similar) provides quantitative Ra, Rz, and Rq values. Take measurements at 3–5 points across the cavity — the parting line area, the deepest draw, and any high-flow areas. All measurements should be within 20% of the target Ra. For Class A molds, also check under a 20× stereo microscope for isolated deep scratches (from a contaminated polishing bob) or pits (from EDM not fully removed). One pit 50 microns deep in an otherwise perfect polish will print onto every part.
Common Pitfalls to Avoid
Rushing the grit progression is the number one mistake. If 240-grit scratches are not fully removed by 400-grit, they will still be faintly visible after 1-micron diamond. The only fix is to go back to 400-grit and redo everything. Second, using too much pressure during polishing creates local heating that can temper the mold steel surface, reducing hardness by 2–5 HRC in the affected area. Let the abrasive do the work — apply no more than 1–2 kg of force. Third, polishing dry generates heat and embeds broken abrasive particles in the steel surface, which later detach and scratch the cavity during molding. Always use adequate lubricant. Fourth, never use steel wool on mold cavities — it embeds microscopic steel particles that rust and create pits.
Polishing Abrasive Progression Reference
| Stage | Abrasive | Grit/Micron | Approx Ra After | Time (per m²) |
|---|---|---|---|---|
| Coarse | Al₂O₃ stone | 120–240 grit | 0.4 → 0.2 μm | 2–4 hours |
| Medium | Diamond paste | 400–800 grit | 0.2 → 0.08 μm | 3–5 hours |
| Fine | Diamond paste | 3 micron | 0.08 → 0.05 μm | 1–2 hours |
| Fine | Diamond paste | 1 micron | 0.05 → 0.03 μm | 1–2 hours |
| Ultra-Fine | Diamond paste | 0.5 micron | 0.03 → 0.02 μm | 1–2 hours |
| Final | Colloidal silica | 0.05 micron | 0.02 → 0.01 μm | 2–4 hours |
TSTAR Mold provides mirror-polished SMC compression molds with surface finishes down to Ra 0.01 μm. In-house CNC machining, EDM, and skilled manual polishing with profilometer verification. Contact us for your Class A surface mold requirements.